In one of my previous posts, I talked about how to Audit MEMCM using Status Messages SQL Queries. Today’s post is going to talk about a similar topic of monitoring but changes the approach from reactive to proactive.
After implementing this automation, changes in the MEMCM Console will trigger an email and/or Teams notification, as per your requirement. A few examples could be:
- Collection created, modified (not recommended), or deleted
- Boundary created, modified, or deleted
- Package created, modified, or deleted
- Deployments created, modified, or deleted
The automation utilizes a feature called Status Filter Rules along with, you guessed it, PowerShell, in order to create an “if-this-then-that” kind of workflow. It will capture the status messages generated by the tasks that we are trying to monitor, and then take actions (Email and Teams Notification) accordingly.
Status Messages
As you may or may not know, changes in the Configuration Manager console create Status Messages.
- Go to the Monitoring Node -> System Status -> Status Message Queries -> All Audit Status Messages from a Specific Site and click on Show Messages.
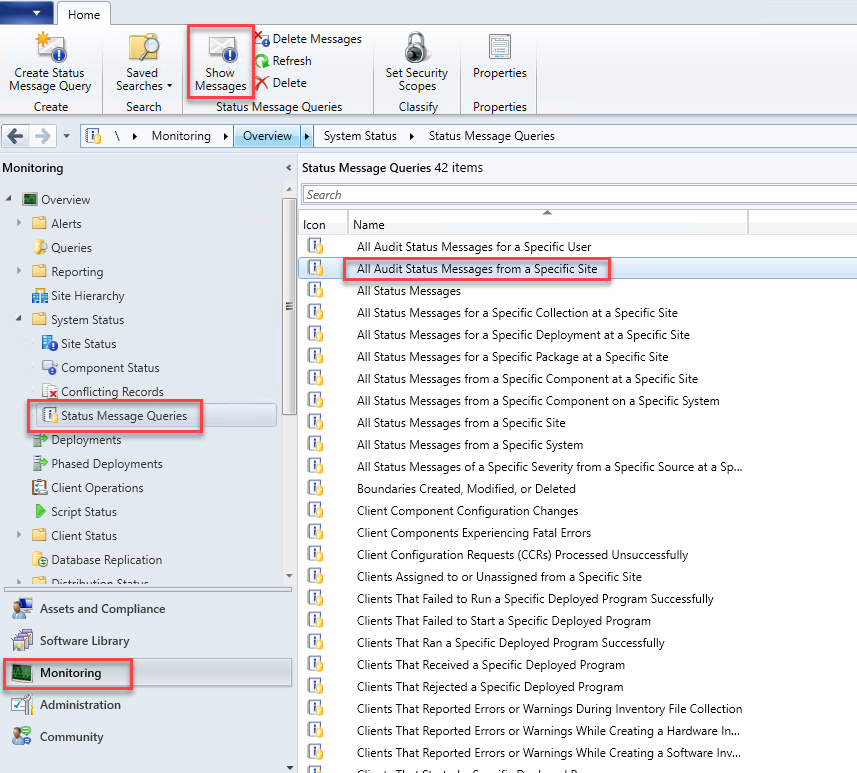
- Specify the Value for Site Code and Time as per your own requirements.


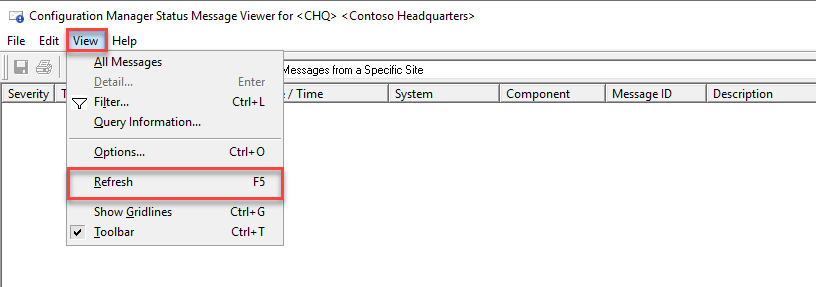
- Now go and create a dummy collection. Then come back and refresh the status message window.
- You will see new entries there.

Similarly, other actions will produce different Status Messages.
PowerShell Script
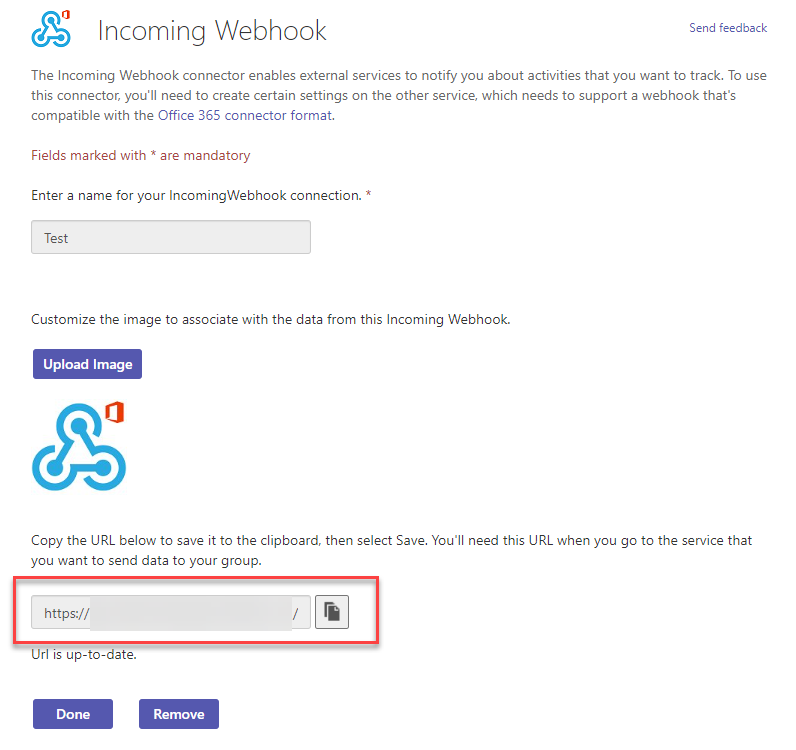
You can get the PowerShell script from my Github. Most of it is pretty straightforward, except for the Webhook URI part that’s required for Microsoft Teams channel notifications. In order to create a Webhook URI:
- Go to Teams -> Create/Select the channel you want to notify -> Click on the “…” towards the end and select Connectors

- Select Incoming Webhook and click on Configure

- Give a name and click on Create

- It will generate a URL. Copy that URL and paste it in the script toward the bottom for the value of URI and click on Done.
Status Filter Rules
Finally, let’s add the last piece of the puzzle by configuring Status Filter Rules on MEMCM Console. You will have to make these changes on the Site Server in order to make this work.
- Login to Site Server and open the Configuration Manager Console
- Go to Administration node -> Site Configuration -> Sites
- Select your site and click on Status Filter Rules on the ribbon

- Click on the Create button and provide the values mentioned below. You can change this configuration based on what you want to achieve. But for now, keep it like this.
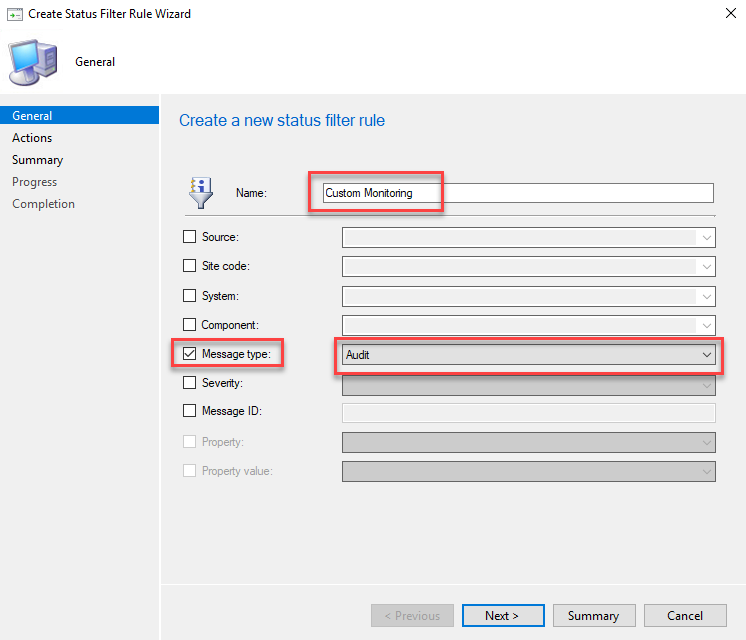
Check Run a Program and provide the path to the PowerShell script that you downloaded previously. The file needs to be placed locally on the Site Server.
The value needs to be in the following format:
C:\Windows\System32\WindowsPowerShell\v1.0\powershell.exe -executionpolicy ByPass -command "& {"path to the script" -msgdesc '%msgdesc' -msgsc '%msgsc' -msgsys '%msgsys' -msgsrc '%msgsrc' -msgid '%msgid' -msgis01 '%msgis01'}"
- Keep clicking next until finished, and you’re done.
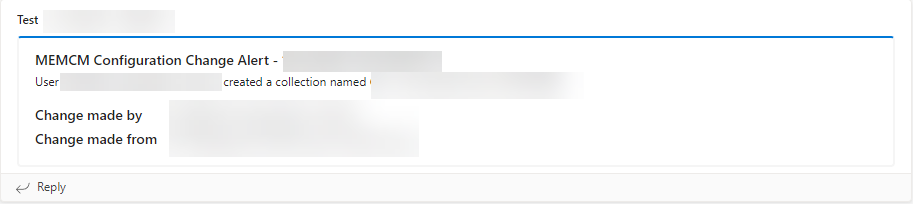
Now try to test it by creating a collection. It should send you an email along with a Teams notification. Something like this:
Hope this post helps by creating a (somewhat) pro-active approach to monitoring the MEMCM Infra.